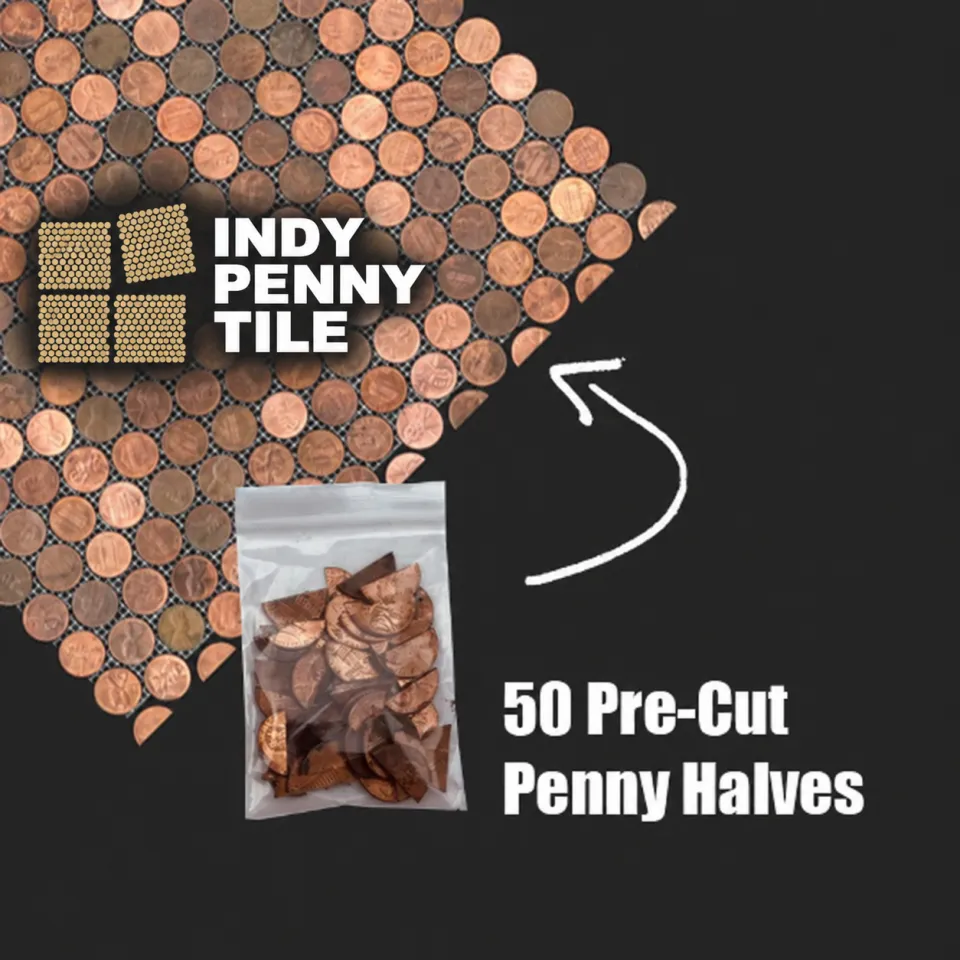
 Mixed penny halves / Actual product photograph
Plan edge pieces around your actual layout. The number of halves needed depends on the exposed edges and where the pattern starts.
The finishing detail
The perfect
finishing half.
Finish the edge with the same character as the field. Cut penny halves help fill the alternating gaps along a straight boundary.
Shipping and any applicable tax are shown at checkout.
What you are working with
- Material
- Cut genuine U.S. pennies
- Use
- Finishing straight edges
- Pack size
- 50 halves (existing product listing)
- Finish
- Mixed natural penny tones
Before you order
Review the production window and delivery details before ordering. Check your measurements and quantities before purchasing. Each penny tile is made for your order.
Talk through your project ↗Installation & care
Use a compatible thinset and sanded grout. Work in small sections, sponge grout off the penny faces promptly, and let the setting materials cure as directed.
Protect the finished surface with a clear coating. We recommend two part pourable epoxy for floors and water based polyurethane in light coats for walls. Follow your coating manufacturer’s cleaning and maintenance directions.
Open the installation guide ↗Returns & order issues
We do not accept returns on penny halves.
Please check your measurements, quantities, and project needs before purchasing. We are happy to help before you order. If something about your order concerns you, contact us so we can help.
Get in touch ↗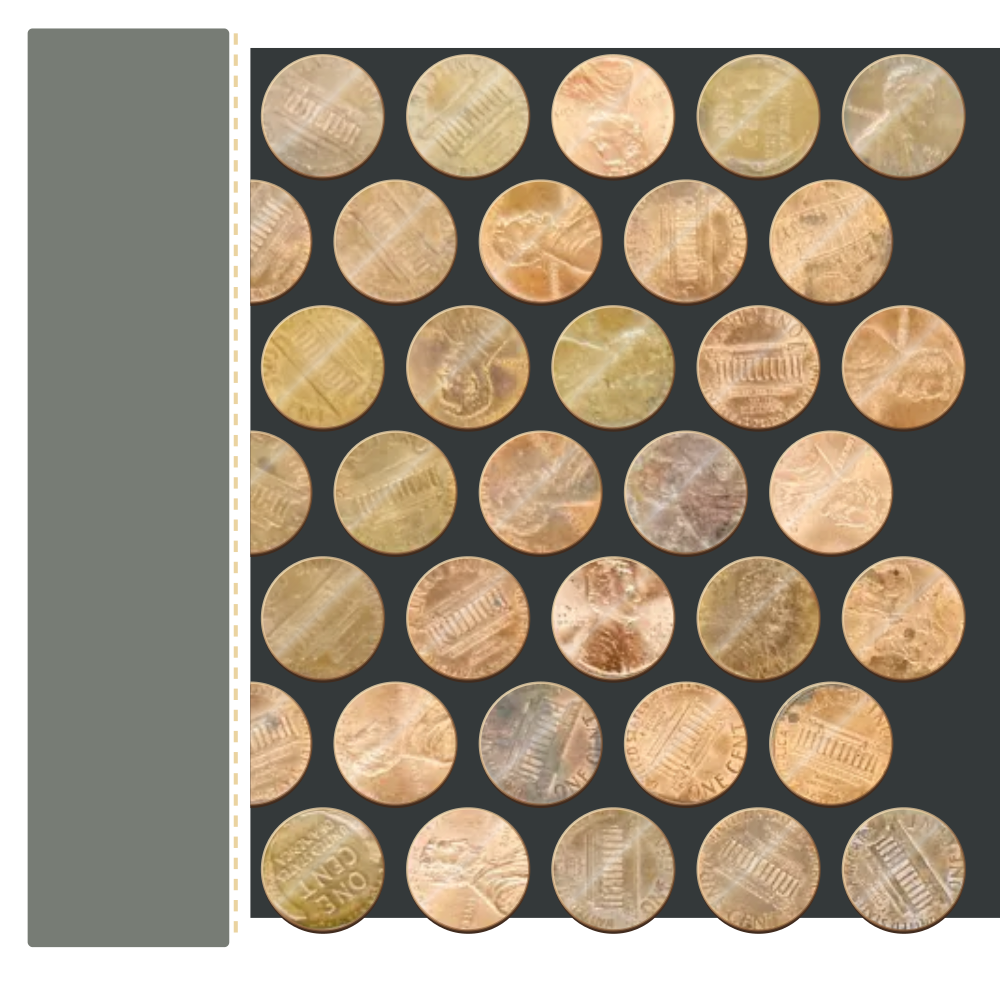
A small piece. A finished edge.
Make the pattern
meet the edge.
Along a straight boundary, the staggered rows leave alternating spaces. Penny halves fill those spaces so the edge reads as a continuous line.
- 01Dry fit the tiles and identify the rows that need halves.
- 02Set each half with its flat side facing the boundary.
- 03Install the halves before grouting. Keep the spacing consistent and allow the setting material to cure as specified.
The number of halves depends on your exposed edges and how the pattern starts. This enlarged rendering illustrates placement.
See how to set the halves